Teaching Online
How to plan your days, communicate, listen, set up your room and tech, as well as a comprehensive list of tools that are helpful for online teaching.
This is where I share my techniques and tools for teaching, presenting and running workshops online.
1. Plan your days
Having the same structure across multiple days (and communicating that structure well before) helps students prepare, creates reasonable expectations and makes it easier for you to select content.
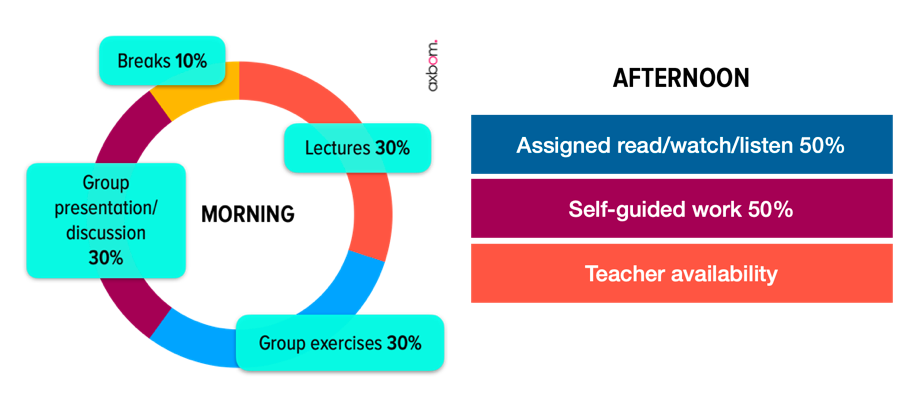
After inspiration from Alastair Somerville, and some of my own experimentation, I have landed in a structure that works well for me. In general, mornings are teacher-directed and afternoons are self-directed, but with content and structure provided by me.
A full day (9am-4pm) looks something like this:
- 08.30-09.00 The online classroom is open, students can log in and chat randomly, and tech issues can be sorted before teaching starts.
- 09.00-09.10 Warm-up / checkin exercises.
- 09.10-09.30 Topic introduction, including purpose of today's learning.
- 09.30-10.00 Group exercise 1 - designed to become aware of the complexity of the problem.
- 10.00-10.15 Morning break
- 10.15-10.40 Group feedback/reports/discussion
- 10.40-11.00 Continuation of topic - new tool/idea/insight
- 11.00-11.30 Group exercise 2 - e.g. using a tool to aid thinking. Allow 10 mins for break/replenishment.
- 11.30-11.50 Group feedback/reports/discussion.
- 11.50-12.00 Summary of learnings. Introduction to expected afternoon activities (can be both group and individual).
- 12.00-13.00 Lunch hour.
- 13.00-14.00 Open question session (I also prepare topics) - not compulsory.
- 14.00-16.00 Students work, read, watch, listen by themselves on set assignments. I'm available for pre-booked video meetings with students (one-on-one or group) and more spontaneous online chats.
2. Communicate

Clear, structured and accessible information is always key to success. Having a single point-of-entry to all information related to the course or workshop makes your teaching more efficient and minimises the need for ongoing support.
Landing page / course site.
A web-based curriculum and content library will be hugely appreciated by all students. They visit a website to find things like:
- The link to the online meeting every day.
- Topics covered and how one can prepare.
- Links to presentations/PDF documents.
- Recorded lectures.
- Links to tools, books, further reading and listening.
- Instructions for group exercises (once students are in online group rooms they are sometimes hard to reach and help).
- Teacher contact details.
- Booking form for one-on-one meetings.
- and anything else you want them to see!
Setting up a course web may be a significant effort the first time around, but the value it creates for you and your students is worth it many times over.
One thing I do as well is list a number of different scenarios and use-cases that can be used in exercises.
3. Listen

The only way to know if your message is getting across, if students are confused, if there is something you should focus more on, if there is something working really well that could be extended... is to listen.
Here are a few ways I listen:
- In the online platform I use students can ask questions during lectures via a Q&A channel. Questions are shown in a separate tab and I can pause to go through these systematically.
- Students can always e-mail me.
- Students can reach me through Telegram (it's the only chat channel I make available - being available in too many places can be overwhelming).
- Students can book a 10-minute video chat with me. Ten minutes is plenty and makes your availability manageable.
- In the afternoons I make one hour available for the whole class to share and discuss reflections with me. This time slot is not compulsory but most everyone is usually in attendance.
- Some of the check-in exercises I do in the morning are for example focused around understanding if the pace I am moving in is okay, and on gauging energy levels.
A selection of feedback paths such as this gives opportunity for different types of learners to approach me and for everyone to learn by listening to questions from others.
4. Extra notices and shares

Things change, new stuff comes up, guest speakers cancel... you never know what will happen. To reach students both when I need to alert them about administrative changes and when I've read a relevant news story or discovered an enlightening documentary, I use a newsletter service.
To stay top of mind I've sent out 1-2 newsletters per week to the students with both valuable new information and reminders about deadlines and preparations.
I always use the classname as a hashtag in subject lines, which allows students to search for that hashtag to find everything from me related to the course.
Students are allowed to sign up for this newsletter with any e-mail address, and are not limited to the school-assigned e-mail, which I know not all students check regularly.
5. Room and tech setup
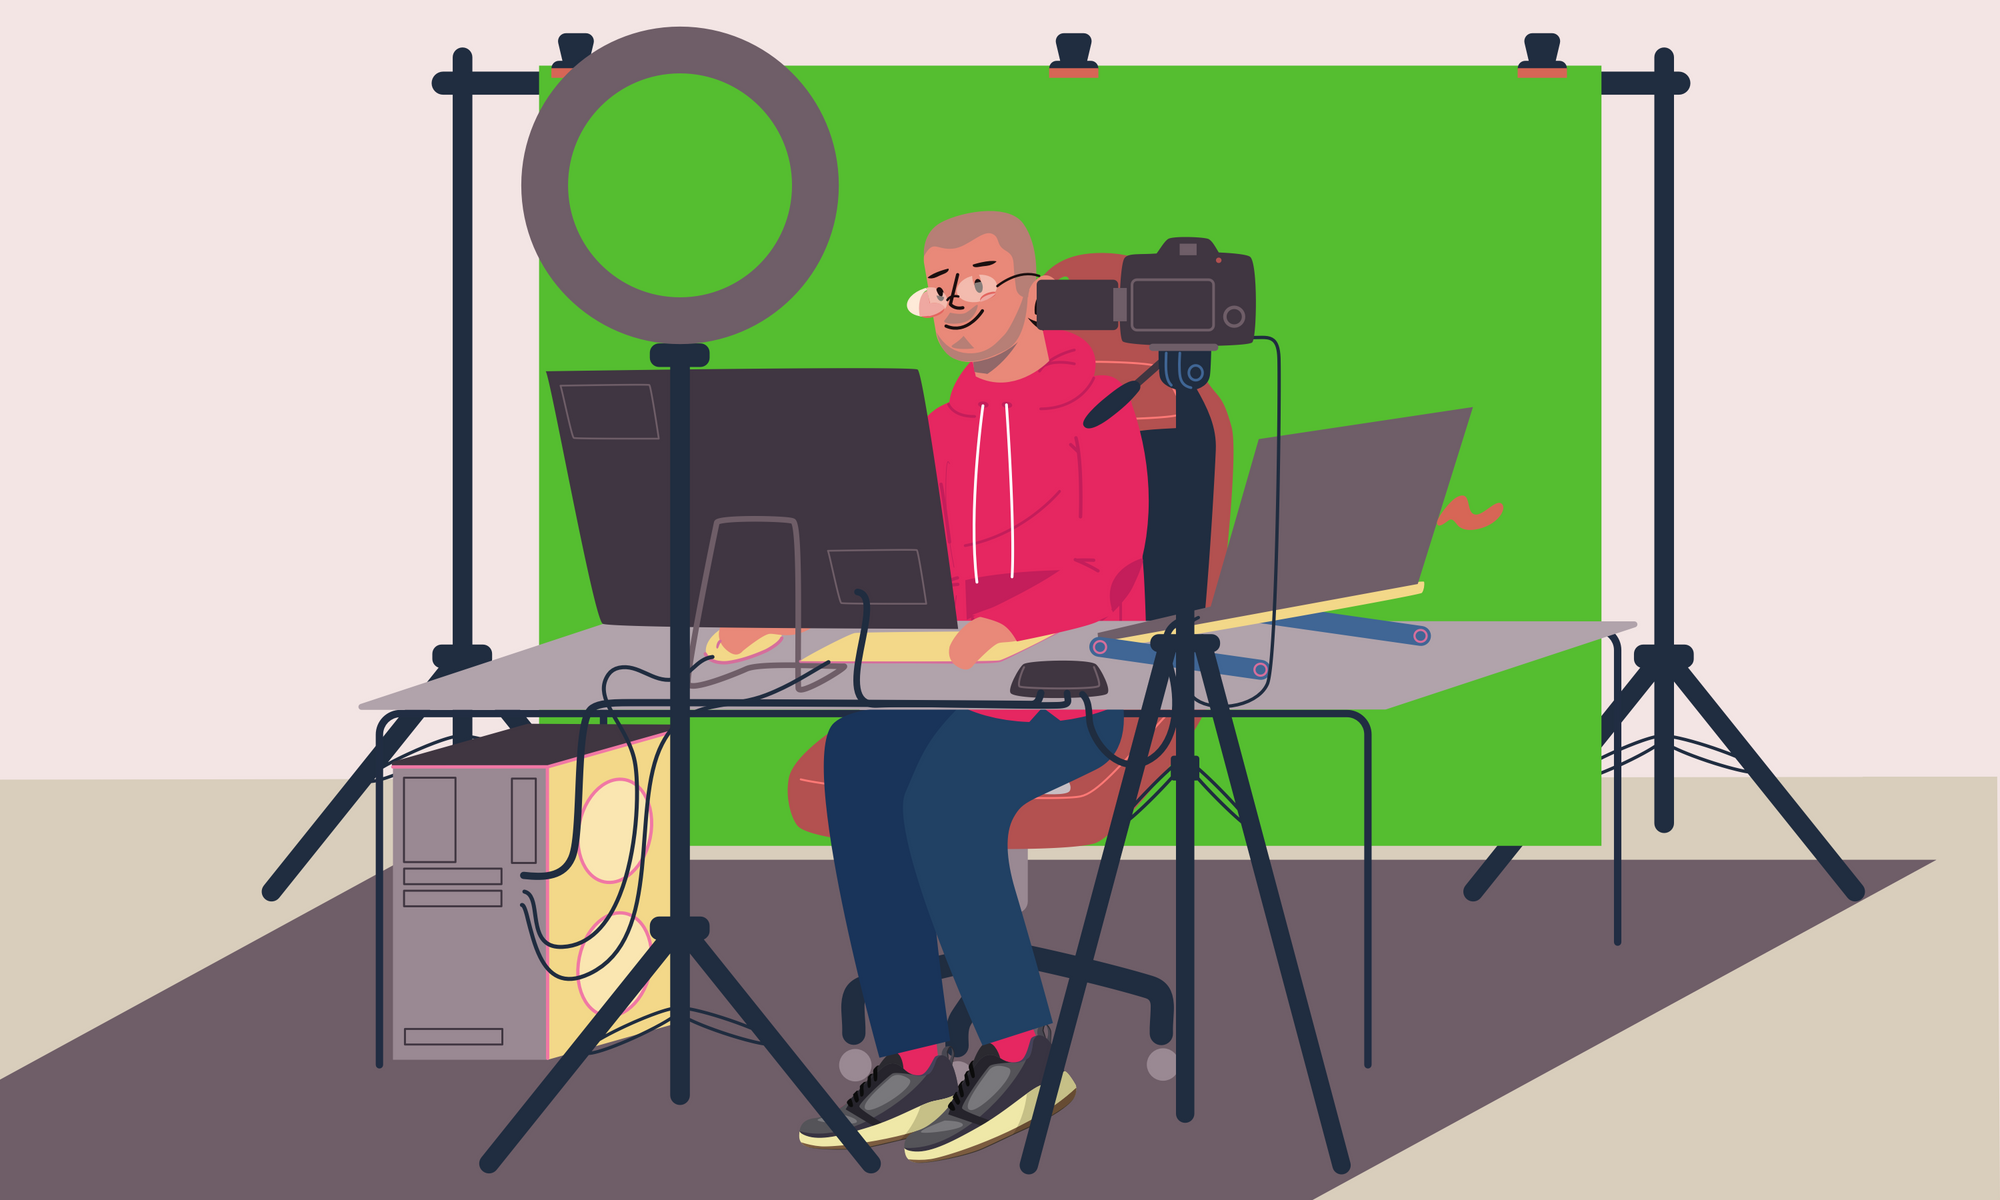
Get comfortable. While you may be enticed by my setup it's more important that you feel comfortable with the setup you're using, both physically and skilfully. I am a tech nerd, which is why I probably have tried everything...
- Ergonomic chair. If you can stand up that's often even better, but may be tiring if you're running full days.
- Good internet connection. If your internet connection isn't up to speed, you're going to have problems. Remind students of this as well. Several people in the same household streaming from different locations at the same time often causes issues. Plug in an Ethernet cable rather than rely on WiFi if you can.
- Good microphone. Your presentation can be shared, but being able to hear your voice in good quality can be the sole difference between a good and bad experience. As a podcaster I of course have invested in several over the years. Anything from Blue or Rode will generally be a good choice.
- Wear headphones. You want to avoid sound leaking from your computer to your microphone.
- Soundproof as much as you can. Hard surfaces amplify sound and soft surfaces absorb them. Carpets and curtains are good.
- Decent camera. The one on your laptop will likely do, or invest in a Logitech one (4k available). Remember though: bad sound is worse than less-than-perfect video.
- Two monitors. Having two monitors allows you to share your second monitor screen to the online audience. This gives you a monitor to work on, and control the online meeting on, that the audience can't see. A laptop with an external monitor will achieve the same. To play your slideshow on a separate screen and keep your online meeting on your first screen, you can use "Play Slideshow in Window" (Keynote) or "Browsed by an individual" (PowerPoint). I often also use PDFs for presenting, as I can zoom easily on PDFs.
- Green screen. Not for everyone but something I find makes teaching a bit more fun. You can actually achieve the green screen effect with a green bed sheet. Or if you don't mind it, paint a wall green(!) I recommend a green screen primarily if you have a dedicated space for video recording and broadcasting. If you want a small-size, foldable green screen solution that attaches to your office chair, try The Webaround.
- Professional lighting. This can actually be crucial for the green screen to even work. But it also makes you look way better on screen. If you are able to invest in softboxes, that is great, but you can also get far on a budget. Chris Lavigne has some good tips.
6. Tools
Again, I have used and tried many different services and software solutions and am prone to change when new ones pop up. Focus on using stuff that helps you be a better teacher.
I try to avoid services that track users and strive to support European companies and smaller startups.
- Meeting platform: Samba Live. Gives me flexible breakout rooms and a Q&A channel separated from chat. Works in the browser without installs.
- Extra breakout/group rooms: Jitsi. Use Jitsi Meet to allow students to create their own breakout or study rooms when your platform won't allow it. Fully encrypted, 100% open source, and free. No account needed.
- Whereby. Provides me with my personal meeting room where students can talk to me without needing to install anything.
- You may want to read Why I Avoid Using Zoom for Meetings.
- Mentimeter. Great for quick surveys and warm-up exercises.
- Padlet. Great, intuitive variant of a whiteboard/kanban tool for breakout groups to document in. For more advanced collaboration I use Mural.
- Calendly. Allows me to define meeting types (e.g. 10-minute student meeting) that books straight into my Google calendar.
- MailerLite. The service I use for newsletters, small course sites as well as landing pages. Update 2022: I now use self-hosted Ghost for most of these projects.
- Mmhmm. I use it almost every meeting. It gives you the best value paired with a green screen but can also put your face in a floating circle on top of your content. Gives a greater sense of presence as students see you and slides at the same time. If you're having trouble using a virtual camera in Teams on Mac, try this.
- Virtual cam alternatives you may want to try: OBS Studio together with NDI Virtual Input. Manycam. Chromacam.
- Smart countdown timer. I use this timer to clearly display on screen the minutes left for exercises and breaks.
- Random group generator. Enter student names on separate lines, press a button, and they are randomly divided into teams.
- Maestra Live Captioner. Try this service for live captions as you are speaking. Microsoft Powerpoint also has live transcription. For post-production captions I use Vidcap.